Saturday, December 4, 2010

Final Luminare Drawings

I think that out of the four drawings that I did of my final luminare the expressive drawing came out the best.  I made the expressive drawing the biggest drawing on the page because to me the light effect was the most important part of the project and then I made the other three drawings smaller and off to the side of the expressive drawing.  I am glad that I chose black over any other color Canson paper because I think the contrast works really well.
Final luminare drawings.
Expressive drawing of final luminare.

Friday, November 26, 2010

Luminare Prototypes

“I haven't failed, I've found 10,000 ways that don't work” -Thomas Alva Edison


Instead I found three ways how not to make a luminare.

First model from front.
I first started out focusing on illuminating the object and not focusing on the light effect.  I made a box out of foam core with squares cut out in four sides.  Then I took wire and threaded it through small green squares and put them across the opening which worked well with the foam core because the wire stuck into the foam in the center.  In the end though the green squares looked cool they did not create any effect on the wall at all.
First model from back.
Then I hung more little green squares from the top of the cube so that they would sway in front of the light bulb.
First model interior.
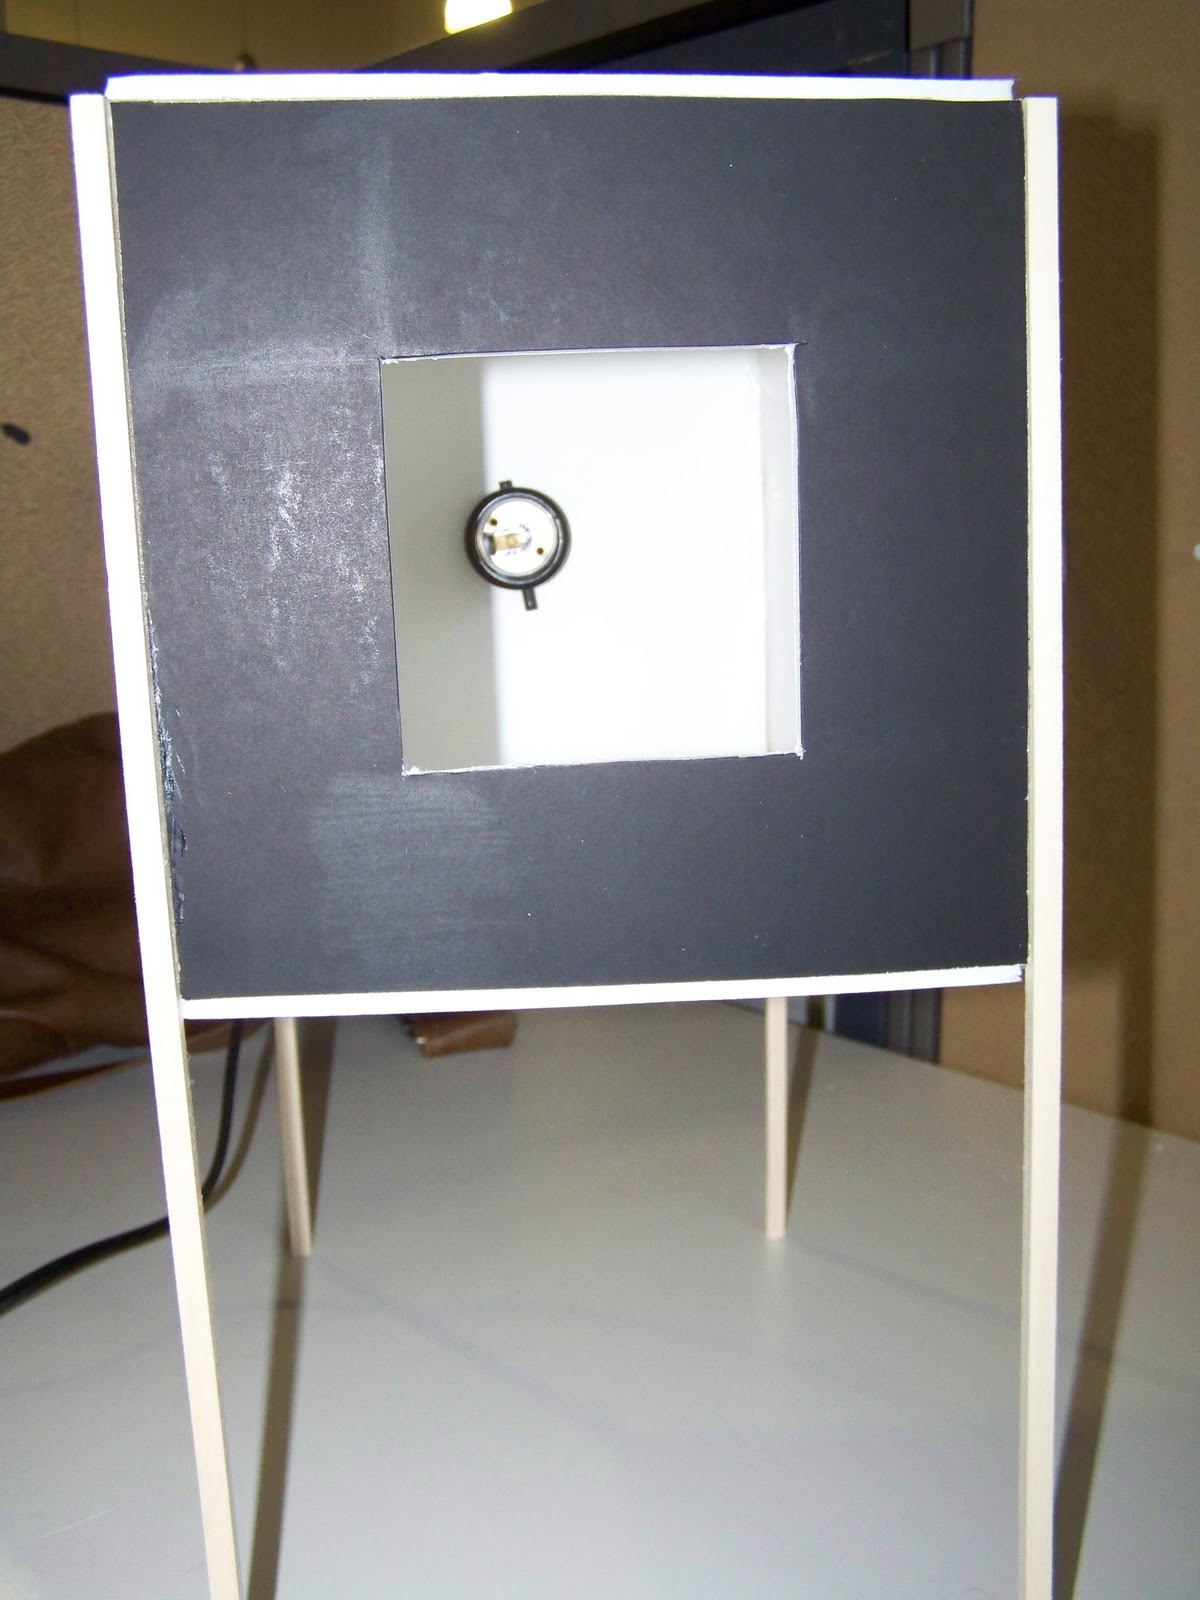
After looking at my luminare sketch model in the dark I decided that I cared more about the light effect than the luminare itself because after all the light effect was my original inspiration.  So then for my next model I focused on creating a luminare that would create my light effect from all sides so I created the same cube from my first model but instead of just cutting squares out of four sides I cut another hole it what would have been the bottom before.  Then so that the box would not sit directly on the table I put it on legs so that it would also create a light effect on the table as well as the wall.  For my second model I made it out of foam core, balsa wood, and two different color green papers.
Second model from right side.
Second model from back/front/right side.
Second model from front.
As I moved along with my luminare I realized that if i used darker foam core it would help to disguise the light socket and cord on the front of the luminare.  So I rebuilt another model just like the previous one but instead with black foam core.
Third model from front
Third model from right side.
Third model from right side/back.
Third model from back.
However, when I made this model I realized how much I do not like working with foam core because it was really hard to cut neatly and the material was not thick enough to keep the light in and the light would show through the foam core.  So then for my next and final model I switched to using mat board and it worked exactly the way that I wanted it to.

Thursday, November 25, 2010

Powers of 10 - Two 10x10 Squares

This is the smaller square below zoomed in to ten times it's size.  I think this square turned out best out of the two squares that I did because I think the shading worked out really well on this one.

Original Square: man's elbow
This is my second square ten times larger of the square below which is a section of the mans pants.

Original Square: part of his pants

Monday, November 15, 2010

More of the Luminare

Luminare without green paper

Luminare with green paper on the bottom opening

Luminare with green paper on the top opening

Thursday, November 4, 2010

Luminare Sketch Model

Luminare Sketch Model


For my sketch model I decided to use white foam board pieces glued together with hot glue with a square cut out of two of the sides to allow shafts of light through.  I put green paper over the foam board on one side just to experiment and see how I liked it with the color rather then the white.  I have decided that I like the green much better than the white because it adds to the effect that is similar to my light phenomenon.  However, I cannot decide if I would rather put paper on it or paint the foam board itself which I do not know how well that would work because of it's slick surfaces.  I then stabbed thick pieces of wire through small lighter green squares so they would slightly over lap and then punctured the wire into the foam board at the edges of the square opening so that the light would filter through the green squares and replicate my light phenomenon. 


I think that the next thing that I am going to try with this project is to make a wooden frame to hold the light bulb at the luminare's epicenter and then cover the wooden frame with some kind of white or clear translucent paper so that the light would filter through that and then through the next layer.  I am also considering hanging another layer of small green squares with fishing line from the top of the luminare so that they will hang down in front of the light.  Then doing the same thing with the small green squares on the outside frame as I did in this sketch model.  I also cannot decide whether to use foam board or particle board for my next model but I might also make one of both and then decide which one I like better.  

Monday, November 1, 2010

The Beginnings of a Luminaire

The Light Bulb
I was experimenting with different kinds of glue trying to find one that would not show through the translucent paper.  I found that the glue stick worked the best but you could still see it through the paper. Due to the fact that I could not accomplish the effect that I wanted using the glue I think instead I am going to see if I can find a way to hang the small green squares using wire or string instead.

Glue Stick
Glue Stick
Hot Glue
Rubber Cement

Sunday, October 31, 2010

System of Wood

When I first started this project I had a hard time finding inspiration for my system idea.  So on the first weekend we got the project I decided to just go down to the wood shop and start getting use to the tools. So when I went down to the shop Tommy and I started practicing with some of the tools and seeing how they worked.  I discovered quickly I did not like the bandsaw because I did not like how it would not cut  in a straight line.  So I decided to use the table saw and the pull saw for my first practice model.  By the time I was done working with the saws I had several different models from using different saws on different settings.  I started by cutting the two by four in half and practicing on one half with the saws on one setting and then cutting the other half I cut using different settings on the saws.  With one half of the two by four I cut if from both sides shown in the picture below but then sadly it made the wood fragile and it snapped as shown in the second picture below.

1st half of the 2x4 (whole)
1st half of the 2x4 after it snapped

With the second half of the two by four I cut grooves in the wood shown in the first picture below and then sliced the wood into sections like the lower picture.

2nd half of 2x4 before
2nd half of 2x4 after
Then with another second of the second half I cut groove into it in a different way shown in the picture below but it too was too fragile and snapped in half straight down the center.

2nd section of 2nd half of the 2x4

The last practice model that made that day was another piece of two by four that I combined several of the different cuts that I made in the other pieces all in one piece.  I noticed as I was making it that the saw was too strong for some of the more delicate pieces and they kept snapping off but I liked the effect that it had so then I also broke off some of them on purpose to add to that effect.  When I was finished with this piece I realized that it looked like computer code to me so that is where I found my inspiration and I built on that idea for my later models.

Final practice piece (inspiration)
Computer code image
Then later on I thought that maybe I would add a frame around the outside of the first piece using some of the other pieces that I had cut.  However later on I decided to do something other than an exact frame in my later models because I did not like how the outer frame hid the detail along the sides because I felt that was one of the most intriguing parts of my system.
Final practice piece plus frame

Once I had completed the section for my center piece of my system then I just had to find a way to incorporate the longer cut off pieces that I shaved from the sides and I tried several different ways like putting one down each side but then I still had two more pieces but I did not want to put a long piece between each row of remaining cut out rectangles so instead I moved on to another idea. 

Two pieces framing each side
Later I came up with the idea to cut down two of the long skinny pieces that I had framing the sides so that then I could put the other two pieces along the top of the center piece to create the sense of containment without actually having a frame to it.  Although the saw took off a few of the center pieces I also broke off some of them on purpose to give it a more purposeful look.  Then I took the extra pieces that I cut from the end on the "frame" pieces and incorporated them back into the center part of the system to unify where the amount of missing pieces changed. 

Final System from front standing upright
Final System from bottom
Final System showing side detail
Final System from bottom showing side and center detail

Final System from the front standing upright
Final System from bottom laying down

Final System showing side detail

There were also the left over pieces that were either broken off by the saw or that I broke off on purpose that I tried to incorporate back into my system but then it just made it look scattered so I decided to count them as saw dust because I felt it looked cleaner without them.

Left over pieces/saw dust