Wednesday, December 8, 2010

Drafting/Drawing Reflection

I think my drawings have noticeably improved over the course of this semester.  At the beginning of the semester I was having a lot of trouble with my line weight and line quality and getting use to the different leads plus my architectural lettering was severely lacking in many different areas.  However, over the course of the semester I started to adjust to using the different leads and controlling my line weight in order to improve my line quality.  My lettering has greatly improved over this semester but of course there is always room for more improvement in my drafting and drawing abilities.  I think what helped me the most as far as sketching goes was just learning to loosen up and just draw.  It also helped when Mira said "when you were little people told you whether you could or couldn't draw, but now you have to strip all that away and think like you can draw" and I agree with what she said because with practice and confidence anyone can draw and learn to do it really well.

Most successful assignment
I decided to include what I think is my most successful drafting assignment because I previously created a seperate blog post with my most successful sketches from this semester.  I think that this is my most successful drafting assignment because the line quality is good and I think the arrangement of the drawings on the page make for a good overall composition.  

I have learned a lot this semester in this drafting class.  I learned how to write in architectural lettering, draw perspectives and to draw objects in perspective along with learning so many other things.  The thing that I had the hardest time learning was remembering all of the steps to drawing a perspective in front of the picture plane but I think I have finally gotten the hang of it.  I found that it helped me to remember how to do it if I showed someone else what they were suppose to do because I was telling myself as well as them as I went over it.  This semester has been a lot of work but I have learned so many new things and I am looking forward to learning more next semester. 

Tuesday, December 7, 2010

3rd Year Studio Critique

On Monday December 6th I attended the west studio 3rd year critique.  The students had completed one project in which they each created their own designs and one project that they completed in groups.  

The individual project was a laying out a new design for the psychiatric ward for child and adolescent patients at Central Regional Hospital in Butner North Carolina.  Their goal for the project was to create an environment for the patients that has a less institutionalized feel to it where they would be able to feel more relaxed and at home.  Each student came up with their own approach to the project and then they each presented their ideas to the hospital staff and they choose different elements from different projects to use in their renovation of the ward.  In their project each student had to design a visiting room, group/activity room, and an individual room for either a male adolescent, female adolescent, or a child.  The design that I found to be most appealing was Kalani Gonzalez's.  I thought his idea of using animals as a kind of mascot for the groups and decorating the rooms to look like the habitat of those animals was really interesting.  Also I felt his idea succeeded at creating the least institutional feel in the environment for the kids because most kids love animals and adventures which his idea conveyed.  His presentation board also stood apart from the rest because it was not composed of all clean cut lines and yet it still got the message across very beautifully.

Kalani Gonzalez's project.

Kalani Gonzalez's project. (center)

The second project that the 3rd years presented in the critique was a group project of ideas for the renovation of an old historic building at 106 West Parrish Street in Durham.  The clients for this project want to turn the space into a loft and bar area called The Horn.  This project required more research on the students' part because not only did they have to follow the clients needs and wants they also had to follow historic preservation guidelines.  They had to keep the rustic feel of the building and protect the building's history from when it was built in 1908.  I think that the group of Smith/Dean/Loloci did the best job on the project with the given parameters.  The other projects were really intriguing but they listened the most of all the groups to what the client said they wanted and they worked to put their own spin on it and they were successful.  I think they connected with the intended crowd, young newly married couples, well and the steps they took to make the bar on the first floor more open were a success.  To make the area seem more open and welcoming they put sliding windows along the street front of the bar so that when opened the exciting sounds of the bar could filter out into the street and attract new customers.  The way that they laid out the bar area also helps to pull people in by putting the more active areas at the front of the bar such as the band and then having the more private areas nestled into the back where it would be quieter.  Then they used a pathway in the floor that wound around to all of the different areas to help pull the space together.  This group also provided an interesting solution to the issue of the lack of natural lighting on the second floor of the building by creating a shaft through the center of the building that integrated each area of the building into the entire space which connects back to the open feel of the environment within the space.  Something that I found in their project that tied to what we are learning in drafting about using perspective people in our drafting is how they used realistic perspective people which really helped in being able to visualize the space and made it seem more realistic.  Since they were a group of three while all of the other groups only had two they had an extra element in their project and had to make a piece of furniture to go into the space and they made a lamp that could be used in either the bar or in one of the residences in the loft above.  

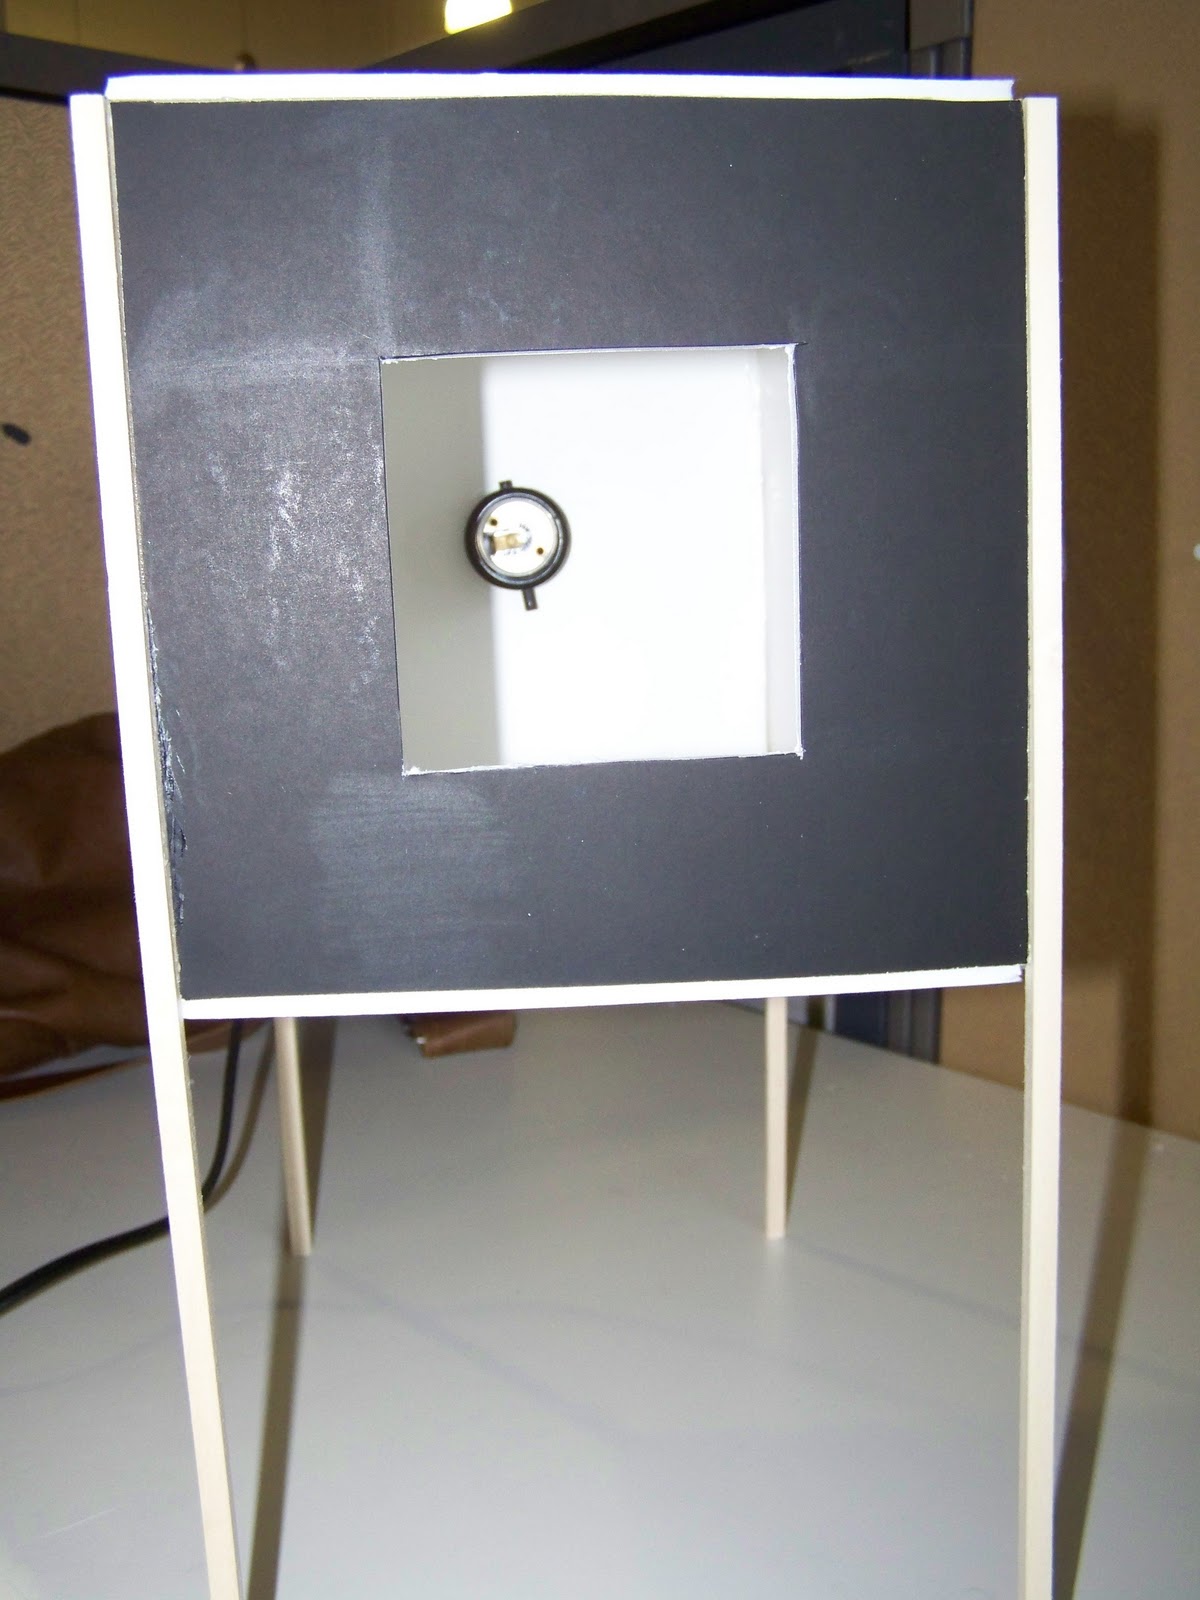
Smith/Dean/Loloci's project.

Each of the students had their presentation board with their finalized ideas pinned up on the wall below their name(s) and they each had a well composed booklet filled with all of their preliminary papers with drawings, designs, notes, and ideas.  All of the students were formally dressed for their presentation and most of them came prepared to present and talk about their work.  As they presented some of them used notes while some read straight off their board.  However, the ones that I felt had the best presentation were the ones who came knowing what they were going to say and spoke to us directly without any kind of help.  These presenters made eye contact with us which kept us engaged in the presentation effectively while those who used a guide did not get their ideas across as well.

Saturday, December 4, 2010

Most successful sketches

This is my favorite of all my sketches because of the shading and the detail that I put into it.  I drew it over thanksgiving break using a bunch of fake grapes and it took me thirty minutes to draw.
This is my in-class drawing of the blanket over the two stools.  I think the shading and the implied texture worked well.

Final Luminare

For my luminare I started out just focusing on illuminating the object and I wasn't really concerned with the illumination it made on the wall.  However, the first time that I looked at it in the dark I realized that I cared more about the actual light effect than anything else because after all the light effect was my inspiration all along.  So then I started experimenting with the squares and the color and this was what I ended up with and I like the way that it turned out and I think the most compelling thing about it is the green and how the two green squares it casts on the wall and table seem to melt into one long rectangle that goes from table to wall.
Final model on final critique day.
Final model from left side.
Final model from straight on.
Final model from right side.
Final model from front.
Final model from straight on and showing more of the light on the wall.
Final model from bottom.
Final model from back.

Final Luminare Drawings

I think that out of the four drawings that I did of my final luminare the expressive drawing came out the best.  I made the expressive drawing the biggest drawing on the page because to me the light effect was the most important part of the project and then I made the other three drawings smaller and off to the side of the expressive drawing.  I am glad that I chose black over any other color Canson paper because I think the contrast works really well.
Final luminare drawings.
Expressive drawing of final luminare.

Friday, November 26, 2010

Luminare Prototypes

“I haven't failed, I've found 10,000 ways that don't work” -Thomas Alva Edison


Instead I found three ways how not to make a luminare.

First model from front.
I first started out focusing on illuminating the object and not focusing on the light effect.  I made a box out of foam core with squares cut out in four sides.  Then I took wire and threaded it through small green squares and put them across the opening which worked well with the foam core because the wire stuck into the foam in the center.  In the end though the green squares looked cool they did not create any effect on the wall at all.
First model from back.
Then I hung more little green squares from the top of the cube so that they would sway in front of the light bulb.
First model interior.
After looking at my luminare sketch model in the dark I decided that I cared more about the light effect than the luminare itself because after all the light effect was my original inspiration.  So then for my next model I focused on creating a luminare that would create my light effect from all sides so I created the same cube from my first model but instead of just cutting squares out of four sides I cut another hole it what would have been the bottom before.  Then so that the box would not sit directly on the table I put it on legs so that it would also create a light effect on the table as well as the wall.  For my second model I made it out of foam core, balsa wood, and two different color green papers.
Second model from right side.
Second model from back/front/right side.
Second model from front.
As I moved along with my luminare I realized that if i used darker foam core it would help to disguise the light socket and cord on the front of the luminare.  So I rebuilt another model just like the previous one but instead with black foam core.
Third model from front
Third model from right side.
Third model from right side/back.
Third model from back.
However, when I made this model I realized how much I do not like working with foam core because it was really hard to cut neatly and the material was not thick enough to keep the light in and the light would show through the foam core.  So then for my next and final model I switched to using mat board and it worked exactly the way that I wanted it to.

Thursday, November 25, 2010

Powers of 10 - Two 10x10 Squares

This is the smaller square below zoomed in to ten times it's size.  I think this square turned out best out of the two squares that I did because I think the shading worked out really well on this one.

Original Square: man's elbow
This is my second square ten times larger of the square below which is a section of the mans pants.

Original Square: part of his pants

Monday, November 15, 2010

More of the Luminare

Luminare without green paper

Luminare with green paper on the bottom opening

Luminare with green paper on the top opening

Thursday, November 4, 2010

Luminare Sketch Model

Luminare Sketch Model


For my sketch model I decided to use white foam board pieces glued together with hot glue with a square cut out of two of the sides to allow shafts of light through.  I put green paper over the foam board on one side just to experiment and see how I liked it with the color rather then the white.  I have decided that I like the green much better than the white because it adds to the effect that is similar to my light phenomenon.  However, I cannot decide if I would rather put paper on it or paint the foam board itself which I do not know how well that would work because of it's slick surfaces.  I then stabbed thick pieces of wire through small lighter green squares so they would slightly over lap and then punctured the wire into the foam board at the edges of the square opening so that the light would filter through the green squares and replicate my light phenomenon. 


I think that the next thing that I am going to try with this project is to make a wooden frame to hold the light bulb at the luminare's epicenter and then cover the wooden frame with some kind of white or clear translucent paper so that the light would filter through that and then through the next layer.  I am also considering hanging another layer of small green squares with fishing line from the top of the luminare so that they will hang down in front of the light.  Then doing the same thing with the small green squares on the outside frame as I did in this sketch model.  I also cannot decide whether to use foam board or particle board for my next model but I might also make one of both and then decide which one I like better.  

Monday, November 1, 2010

The Beginnings of a Luminaire

The Light Bulb
I was experimenting with different kinds of glue trying to find one that would not show through the translucent paper.  I found that the glue stick worked the best but you could still see it through the paper. Due to the fact that I could not accomplish the effect that I wanted using the glue I think instead I am going to see if I can find a way to hang the small green squares using wire or string instead.

Glue Stick
Glue Stick
Hot Glue
Rubber Cement

Sunday, October 31, 2010

System of Wood

When I first started this project I had a hard time finding inspiration for my system idea.  So on the first weekend we got the project I decided to just go down to the wood shop and start getting use to the tools. So when I went down to the shop Tommy and I started practicing with some of the tools and seeing how they worked.  I discovered quickly I did not like the bandsaw because I did not like how it would not cut  in a straight line.  So I decided to use the table saw and the pull saw for my first practice model.  By the time I was done working with the saws I had several different models from using different saws on different settings.  I started by cutting the two by four in half and practicing on one half with the saws on one setting and then cutting the other half I cut using different settings on the saws.  With one half of the two by four I cut if from both sides shown in the picture below but then sadly it made the wood fragile and it snapped as shown in the second picture below.

1st half of the 2x4 (whole)
1st half of the 2x4 after it snapped

With the second half of the two by four I cut grooves in the wood shown in the first picture below and then sliced the wood into sections like the lower picture.

2nd half of 2x4 before
2nd half of 2x4 after
Then with another second of the second half I cut groove into it in a different way shown in the picture below but it too was too fragile and snapped in half straight down the center.

2nd section of 2nd half of the 2x4

The last practice model that made that day was another piece of two by four that I combined several of the different cuts that I made in the other pieces all in one piece.  I noticed as I was making it that the saw was too strong for some of the more delicate pieces and they kept snapping off but I liked the effect that it had so then I also broke off some of them on purpose to add to that effect.  When I was finished with this piece I realized that it looked like computer code to me so that is where I found my inspiration and I built on that idea for my later models.

Final practice piece (inspiration)
Computer code image
Then later on I thought that maybe I would add a frame around the outside of the first piece using some of the other pieces that I had cut.  However later on I decided to do something other than an exact frame in my later models because I did not like how the outer frame hid the detail along the sides because I felt that was one of the most intriguing parts of my system.
Final practice piece plus frame

Once I had completed the section for my center piece of my system then I just had to find a way to incorporate the longer cut off pieces that I shaved from the sides and I tried several different ways like putting one down each side but then I still had two more pieces but I did not want to put a long piece between each row of remaining cut out rectangles so instead I moved on to another idea. 

Two pieces framing each side
Later I came up with the idea to cut down two of the long skinny pieces that I had framing the sides so that then I could put the other two pieces along the top of the center piece to create the sense of containment without actually having a frame to it.  Although the saw took off a few of the center pieces I also broke off some of them on purpose to give it a more purposeful look.  Then I took the extra pieces that I cut from the end on the "frame" pieces and incorporated them back into the center part of the system to unify where the amount of missing pieces changed. 

Final System from front standing upright
Final System from bottom
Final System showing side detail
Final System from bottom showing side and center detail

Final System from the front standing upright
Final System from bottom laying down

Final System showing side detail

There were also the left over pieces that were either broken off by the saw or that I broke off on purpose that I tried to incorporate back into my system but then it just made it look scattered so I decided to count them as saw dust because I felt it looked cleaner without them.

Left over pieces/saw dust